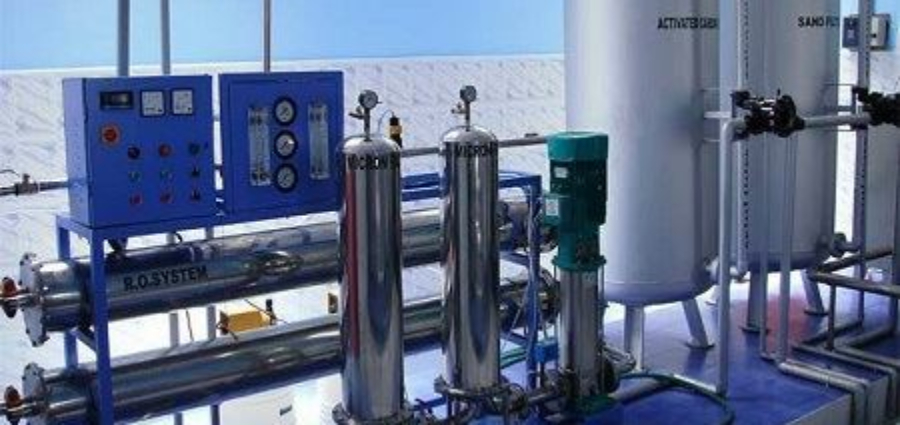
Reverse Osmosis Installation Guide: How to Set Up an RO Water Filter
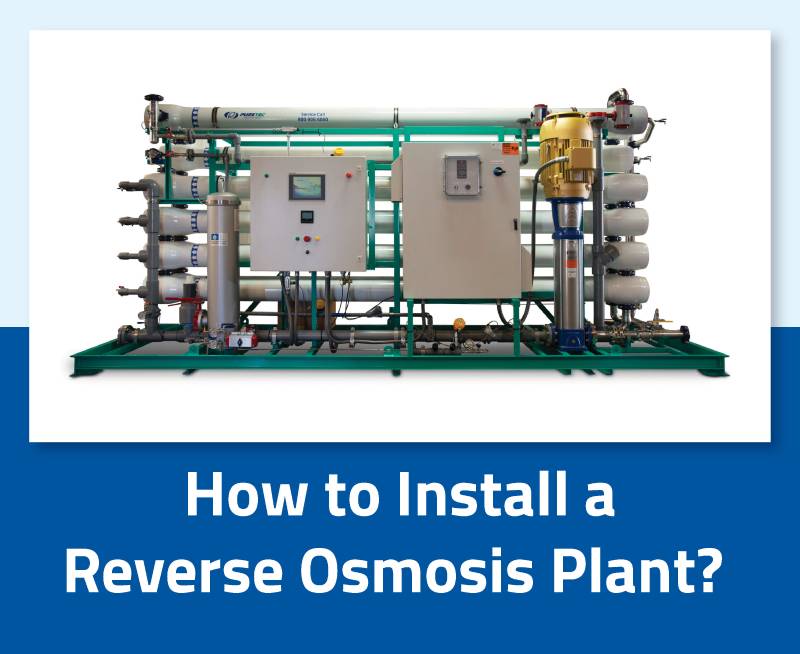
With water quality becoming a big concern, more people are turning to reverse osmosis plants to purify their water, whether it’s for homes, businesses, or industrial sites. So, what’s all this about reverse osmosis (RO)? It’s a neat process where water gets pushed through a semi-permeable membrane to remove impurities and contaminants, giving you clean, safe drinking water.
Thinking about improving your home’s water quality, supporting a busy commercial space, or handling large industrial operations? RO systems can be customized to meet your needs. But how do you go about RO water purifier installation effectively? Don’t worry! This guide will walk you through the steps for RO system installation, ensuring you’ve got everything covered for a smooth installation.
Introduction to Reverse Osmosis
As mentioned, Reverse Osmosis (RO) is a water purification method that removes contaminants by using pressure to push water through a semi-permeable membrane. This membrane acts like a fine filter, allowing only water molecules to pass through, while blocking larger particles and impurities. The process starts with pre-treatment, where water is filtered to remove larger debris and sediments. Next, the water is pressurized and pushed through the RO membrane.
As it passes through, impurities such as salts, bacteria, and other harmful substances are left behind, while clean water moves to the other side. This purified water is then collected and often undergoes additional post-treatment to adjust pH levels or add minerals for taste. RO is highly effective, making it a popular choice for producing safe drinking water and for industrial applications where pure water is needed.
Benefits of Installing an RO System
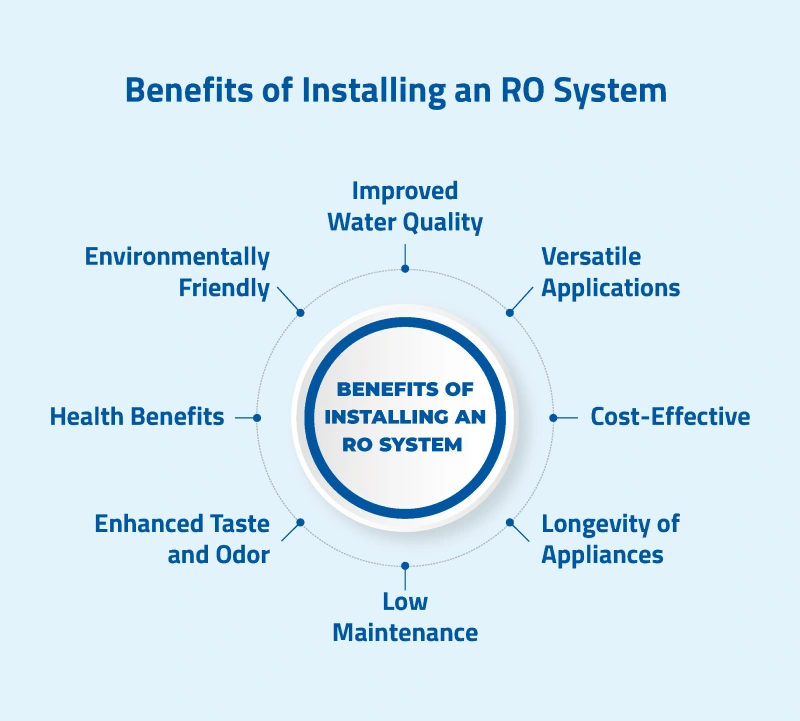
- Improved Water Quality:
An RO system is a great way to ensure your drinking water is clean and safe. It removes contaminants like chlorine, lead, and bacteria, giving you and your family high-quality water. By filtering out harmful substances, you can have peace of mind knowing that the water you consume is the best it can be. - Cost-Effective:
By installing an RO system, you can significantly cut down on buying bottled water, which adds up to big savings over time. Plus, it helps prevent plumbing issues caused by hard water, meaning fewer repairs and maintenance costs. So, while there’s an initial investment, it ultimately lowers your water-related expenses. It’s a smart and economical choice! - Environmentally Friendly:
Did you know that using an RO system can help cut down on plastic waste? By reducing the reliance on plastic bottles, it contributes to a healthier environment. Plus, it aligns with sustainable living goals by reducing the carbon footprint linked to bottled water production and transportation. It’s a great way to make a positive impact! - Versatile Applications:
RO systems are incredibly versatile, suitable for residential, commercial, and industrial settings. Whether you’re looking to improve water quality in your home kitchen, a bustling restaurant, or a large manufacturing facility, an RO system can be the perfect solution. It adapts to various needs, ensuring you get the water quality you require for whatever setting you’re in. - Health Benefits:
RO systems play a vital role in boosting overall health by removing impurities and contaminants from our water. Clean water is more than just refreshing—it aids digestion, supports kidney function, and helps keep our skin clear. Plus, sipping on purified water reduces the risk of waterborne diseases and other health problems. So, making sure you have access to clean water is definitely a smart move for your health! - Enhanced Taste and Odor:
RO systems work wonders in enhancing the taste and smell of water. They effectively remove unpleasant flavors and odors caused by chlorine and other chemicals. This means you get better-tasting drinks and meals prepared with cleaner, fresher water. It’s like having a little water purification expert right in your home, ensuring every sip and bite is just that much more enjoyable! - Low Maintenance:
Modern RO systems are super user-friendly when it comes to maintenance! They generally just need a quick filter change and some occasional system checks. This means you can enjoy clean water without dealing with complicated upkeep. It’s all about convenience and making life easier! - Longevity of Appliances:
An RO system is a great way to keep your household appliances running smoothly! By cutting down on mineral buildup, it helps extend the life of things like water heaters, dishwashers, and washing machines. Plus, with less hard water damage, you’ll face fewer repairs and replacements, saving you money in the long run.
Residential RO Plant Installation
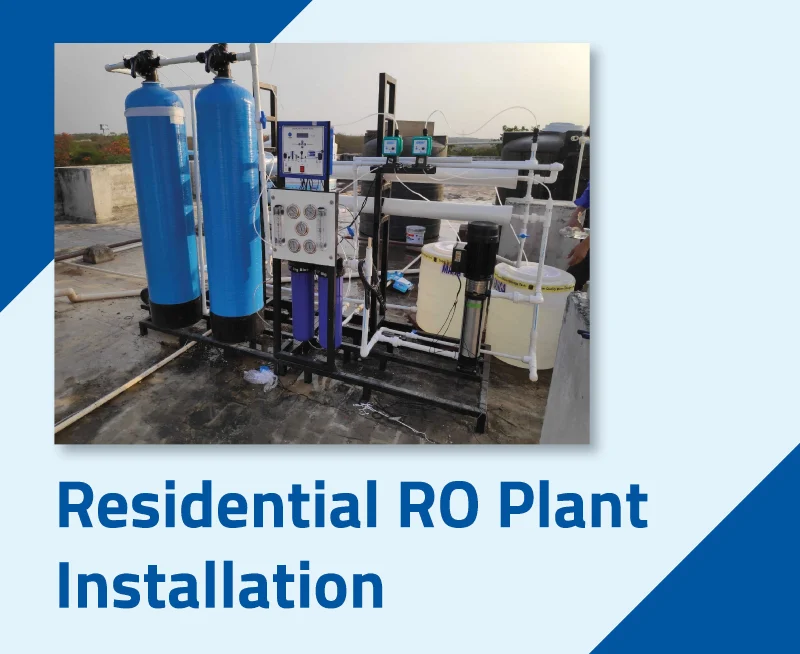
Setting up a residential RO plant is pretty straightforward, but you need to pay attention to the details to make sure it runs smoothly and gives you top-quality water. Here’s a helpful guide to walk you through the RO installation process.
Planning & Preparation for Residential RO Water System Installation:
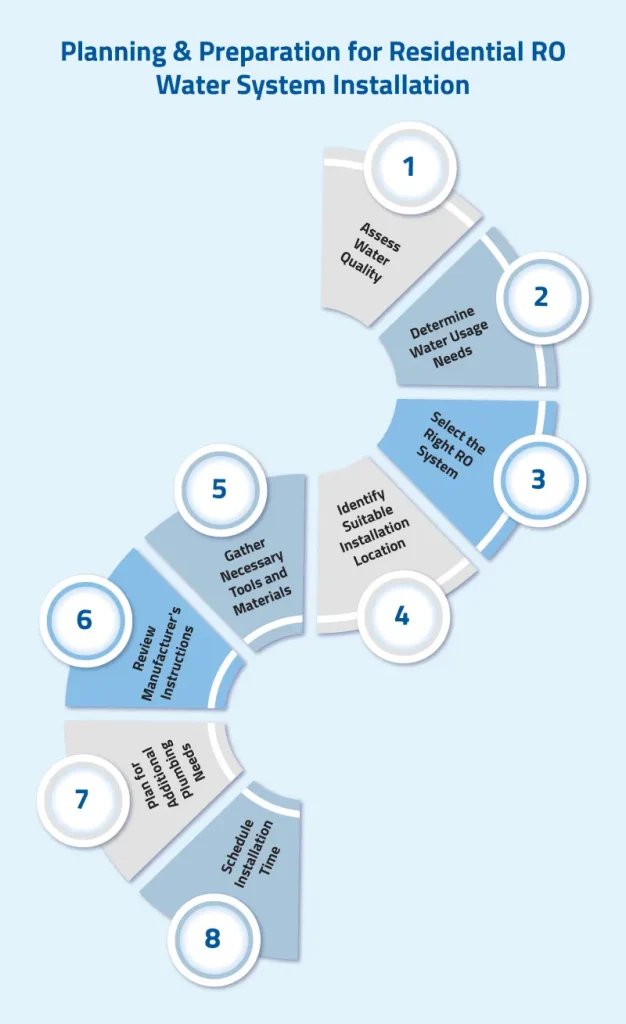
- Assess Water Quality
Before installing an RO system, it’s essential to understand the quality of your current water supply. Conduct a water quality test to identify the specific contaminants present. This information will guide you in selecting the appropriate residential RO system with the right filters to effectively remove impurities. - Determine Water Usage Needs
Calculate your household’s daily water consumption to ensure the RO system can meet your needs. Consider the number of family members and typical usage patterns. This step helps in choosing a system with sufficient capacity to provide a steady supply of clean water without running out during peak usage times. - Select the Right RO System
Based on your water quality assessment and usage needs, choose an RO system that fits your requirements. Options vary in terms of capacity, filtration stages, and additional features like UV sterilization or mineral addition. A well-selected system ensures optimal performance and satisfaction with the water quality. - Identify Suitable Installation Location
Determine where to install the RO system. It should be near a water source and a drain for wastewater. Common locations include under the kitchen sink or in a utility room. Ensure there is enough space for the system components and keep accessibility for maintenance in mind. - Gather Necessary Tools and Materials
Collect all required tools and materials before starting the installation.- Drill and Bits: For creating holes in the sink or wall to mount the RO system. Common sizes include 1/4″, 1/2″, 3/8″.
- Adjustable Wrench: Essential for tightening and loosening plumbing connections.
- Tube Cutter: Cuts plastic tubing to the required length without damage.
- Teflon Tape: Ensures watertight seals on threaded joints.
- Screwdriver: Phillips and flathead for mounting brackets and hose clamps.
- Plumbing Wrenches: Used for larger pipes and fittings.
- Measuring Tape: Measures distances for proper RO unit placement.
- Level: Ensures straight installation, important for wall-mounted systems.
- Hole Saw: Creates sink or countertop holes for the RO faucet.
- Pliers: Grips small fittings during installation.
- Bucket or Pan: Catches water spills during installation.
- Marker or Pencil: Marks drilling or tubing adjustment points.
- Water Pressure Gauge (Optional): Checks if home’s water pressure meets system requirements.
Additional Tools (if required): - Booster Pump: If water pressure is below the required level (usually below 40-50 psi).
- Pre-Filter Tools: Specific wrenches or removal tools to change filters, depending on the brand.
- Review Manufacturer’s Instructions
Carefully read through the manufacturer’s installation manual for the RO system you are installing. Each system may have specific requirements or recommendations that are crucial for proper setup. Following these instructions ensures a safe and effective installation, while also maintaining warranty coverage. - Plan for Additional Plumbing Needs
Evaluate whether any additional plumbing work is required, such as installing a new faucet or making modifications to existing pipes. If the task exceeds your DIY skills, consider hiring a professional plumber to carry out the necessary work to ensure a leak-free installation. - Schedule Installation Time
Set aside adequate time to complete the installation without rushing, which can lead to mistakes. Depending on your experience level, this may take a few hours. Completing the installation with care allows for an efficient and trouble-free operation of your RO system.
Step-by-Step Installation Process for Residential RO System:
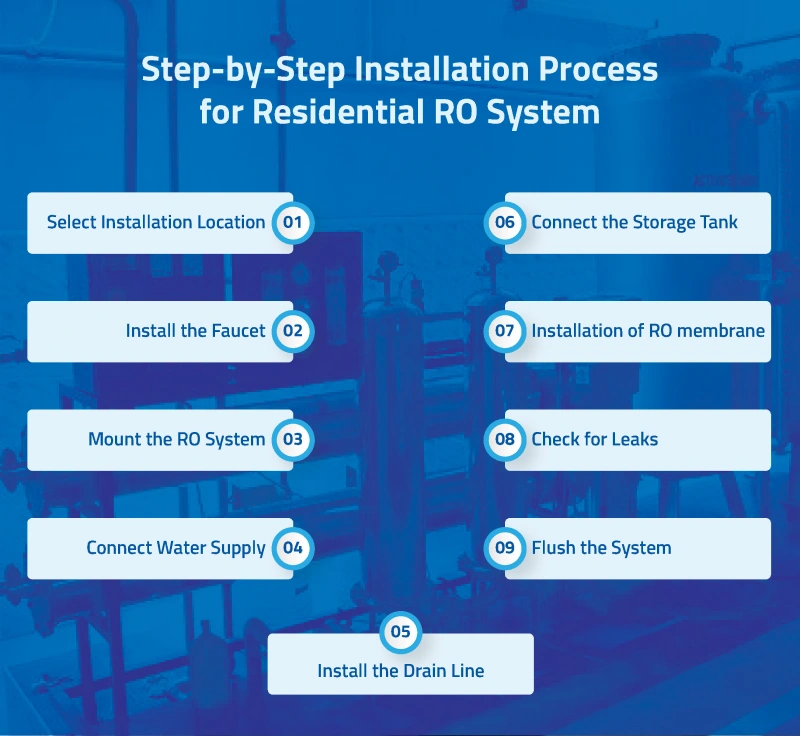
- Select Installation Location:
Choose a location near your kitchen sink and a water source. Ensure there is enough space for the system and the storage tank. The area should be easily accessible for maintenance and filter changes. - Install the Faucet:
- Drill a Hole: If there isn’t a hole for the RO faucet, you’ll need to drill one in the sink or countertop. Make sure the hole is the right size for the faucet that comes with your RO system.
- Secure the Faucet: Place the faucet into the hole and secure it with the provided hardware. Tighten the fittings so the faucet is stable and secure.
- Mount the RO System:
- Attach the Brackets: Use mounting brackets to secure your RO unit to the wall under the sink. Make sure it’s mounted at a height that allows for easy maintenance access.
- Stable Surface: If you’re not mounting it on the wall, place the unit on a stable surface under the sink. Ensure it’s positioned so it doesn’t block access to other plumbing parts.
- Connect Water Supply:
- Turn Off Cold Water Supply: Turn off the cold water supply valve under the sink.
- Attach Feed Water Adapter: Install the feed water adapter to the cold water line. This adapter will help you to connect the RO system’s inlet line to your existing plumbing.
- Connect Inlet Line: Attach the RO system’s inlet tubing to the feed water adapter. Ensure the connection is secure to prevent leaks.
- Install the Drain Line:
- Drill a Hole: Drill an opening in the sink’s drainpipe, ensuring it is suitable for the drain saddle.
- Install Drain Saddle: Attach the drain saddle to the drainpipe, aligning it with the hole you drilled.
- Connect Drain Line: Attach the RO system’s drain tubing to the drain saddle. Ensure the connection is tight and secure.
- Connect the Storage Tank:
- Place the Tank: Position the storage tank under the sink conveniently.
- Connect Tank Line: Attach the tubing from the RO unit to the storage tank’s inlet. Use Teflon tape on the threads to get a watertight seal.
- Installation of RO membrane:
- Follow Manufacturer’s Instructions: Carefully follow the manufacturer’s instructions for installing the RO membrane inside the unit. This typically involves unscrewing the membrane housing, inserting the membrane, and securing the housing back in place.
- Check for Leaks:
- Turn On the Water Supply: Slowly turn the cold-water supply valve on.
- Inspect Connections: Check all connections, including the inlet, outlet, and drain lines, for signs of leaks and tighten loose fittings as necessary.
- Flush the System:
- Initial Flush: Allow the system to flush for several hours before using the water. This step is crucial to remove residual manufacturing chemicals and ensure the system is clean.
- Discard First Batch of Water: Discard the first tank of RO water to ensure any impurities are flushed out.
Maintenance Tips for Residential RO Plant:
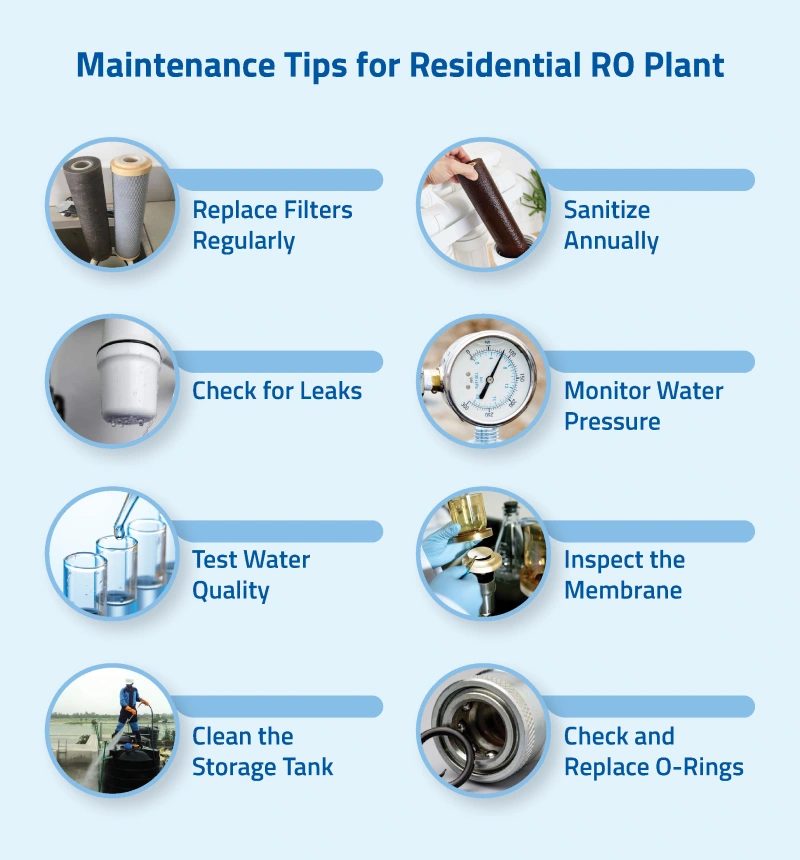
- Replace Filters Regularly: Follow the manufacturer’s guidelines for filter replacement to ensure optimal filtration efficiency and water quality. Replace pre-filters every 6-12 months and post-filters as recommended.
- Sanitize Annually: Conduct a thorough cleaning and sanitization of the system once a year. Use a food-grade sanitizing solution to flush the system, ensuring all components are free from microbial build-up.
- Check for Leaks: Regularly inspect the system for any leaks or damage. Look for wet spots or drips around fittings and connections, which can indicate wear or improper sealing.
- Monitor Water Pressure: Keep an eye on the system’s water pressure. Low pressure can signal a clogged filter, while high pressure can lead to leaks. Adjust your system accordingly and replace filters if needed.
- Test Water Quality: Periodically test the filtered water to ensure it meets your quality standards. Use a TDS (Total Dissolved Solids) meter to check for any significant changes in water purity.
- Inspect the Membrane: Examine the RO membrane every year for wear and tear. Replace it every 2-3 years or as recommended by the manufacturer to maintain effective contaminant removal.
- Clean the Storage Tank: Drain and clean the storage tank periodically to prevent sediment buildup and microbial growth. Follow manufacturer instructions for proper cleaning procedures.
- Check and Replace O-Rings: Inspect O-rings and seals regularly for signs of wear or damage. Replace them as needed to prevent leaks and ensure a tight seal throughout the system.
Commercial Reverse Osmosis System Installation
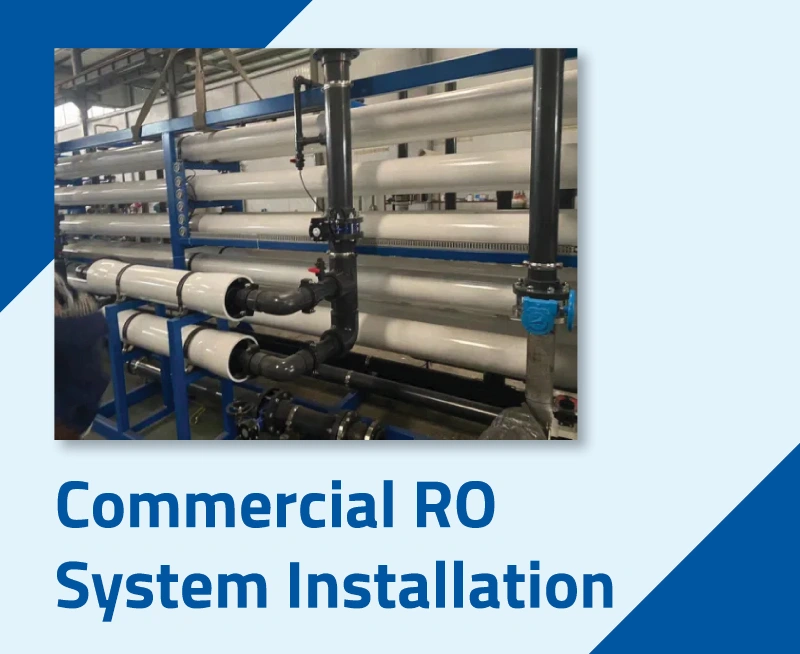
Commercial RO system installation is essential for organizations that require large volumes of purified water, like restaurants, hotels, and manufacturing facilities. Proper installation ensures the system operates effectively and delivers high-quality water. Here’s a detailed guide on commercial RO plant installation:
Planning and Preparation for Commercial RO Water System Installation:
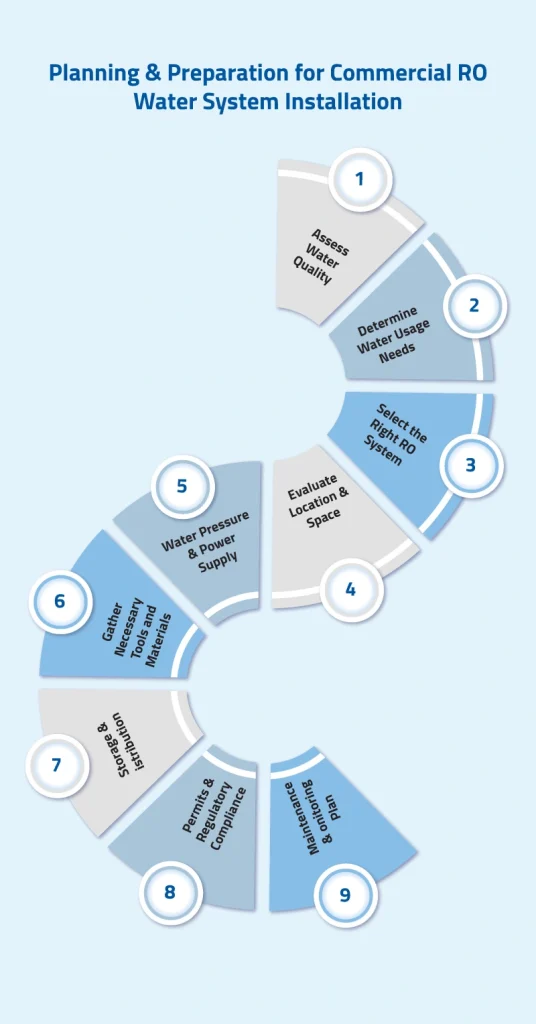
- Assess Water Quality
Start by conducting a detailed water quality test to identify any contaminants in your supply. This will give you a clear picture of what you’re dealing with. If needed, consult a RO plant installation company or water treatment specialist to help determine if any pre-treatment solutions, like water softeners or UV sterilization, are required to improve water quality before it enters the RO system. - Determine Water Usage Requirements
Next, calculate your daily water consumption based on your operational needs. This will vary depending on the type of business, the number of users, and peak usage times. By understanding these factors, you can choose a system with the right capacity to handle both your current water needs and any future growth. - Select the Right RO System
When choosing a commercial water purification system, it’s important to consider not only its capacity but also the number of filtration stages and any additional features, such as a UV sterilizer or automated monitoring controls. You should also think ahead—select a system that can scale with your business as it grows. - Evaluate Location & Space
Finding the right spot for your RO system is key. Make sure you have enough room for the system itself, as well as storage tanks and any pre-treatment units. The location should have easy access to your main water supply, proper drainage for wastewater, good ventilation, and a stable temperature to ensure optimal performance. - Water Pressure & Power Supply
It’s essential to check if your existing water pressure meets the system’s requirements. If it doesn’t, you may need to install a booster pump. Additionally, ensure the location has a stable power supply that can handle the system’s electrical needs without interruption. - Gather Tools & Pre-Treatment Solutions (if needed)
As part of the preparation, gather the necessary tools and materials before installation. Here’s a list of tools and their purpose:- Industrial Drill and Drill Bits: For mounting large system components and storage tanks.
- Pipe Wrenches: To handle larger pipes and connections.
- Tube Cutter: For precise cutting of plastic tubing without damage.
- Teflon/Plumber’s Tape: To ensure watertight seals on threaded joints.
- Pressure Gauge: Monitors water pressure (40–70 psi) entering the RO system.
- Measuring Tape and Level: To ensure accurate placement and straight installation.
- Screwdrivers (Phillips & Flathead): For securing screws and clamps.
- Pliers: For gripping and tightening smaller components like nuts or tubes during assembly.
- Bucket or Pan: To catch water during installation or disconnecting water lines.
- Booster Pump: To manage low water pressure, if required.
- Pipe Cutter: Cuts metal pipes like copper or PVC for installing or rerouting water lines.
- Plumbing Tape Measure: Measures tubing length and distances for accurate installation.
- TDS Meter: Tests water quality and dissolved solids before and after filtration.
- Plumber’s Putty or Silicone Sealant: Creates water-tight seals around faucets and fittings.
- Tubing Clamps: Secures tubing to prevent movement or leaks, especially in waste lines.
- Multimeter (Optional): Tests voltage and current for systems with electrical components.
Additionally, pre-treatment solutions like water softeners, sediment filters, or activated carbon filters may be necessary depending on the water quality.
- Storage & Distribution
Plan for large storage tanks to ensure there’s always enough treated water available, especially during peak demand periods. You’ll also need to design a distribution network that can effectively deliver water to various points throughout your facility while maintaining adequate pressure and flow. - Permits & Regulatory Compliance
Before proceeding with installation, check local regulations to ensure compliance, particularly for wastewater disposal and any health codes that apply to your industry. Be sure to obtain any necessary permits to avoid delays or legal issues down the line. - Maintenance & Monitoring Plan
Lastly, develop a solid maintenance plan for regular filter changes, system checks, and general upkeep. It’s also a good idea to implement a monitoring system that tracks the system’s performance and water quality in real time, helping you catch any issues before they become costly problems.
Step-by-Step Installation Process for Commercial RO System:
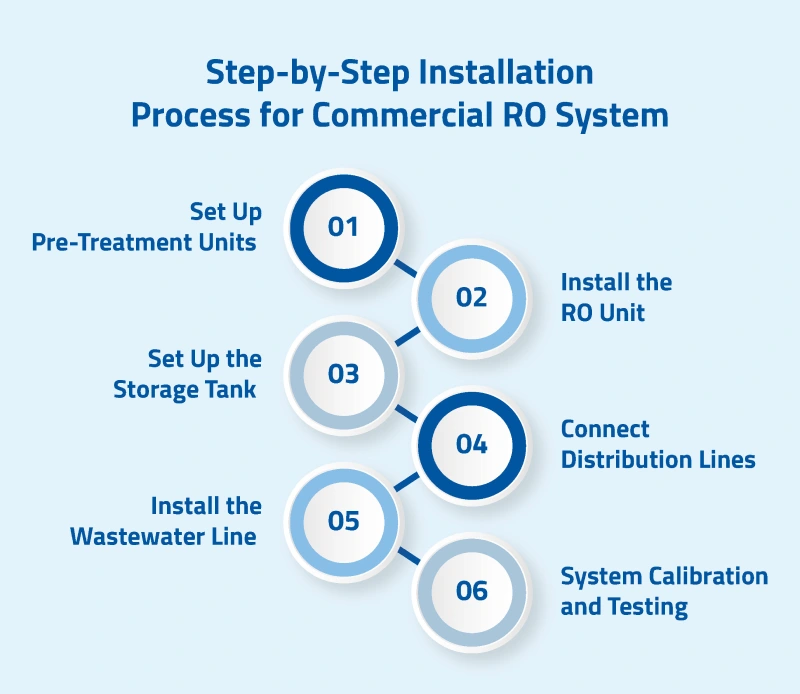
- Set Up Pre-Treatment Units
Set up the needed pre-treatment systems based on your water analysis.- Sediment Filters: These are used to remove larger particles like sand and silt.
- Carbon Filters: They help eliminate chlorine and other harmful chemicals that could harm the RO membrane.
- Water Softeners or Anti-Scaling Systems (if necessary): If your water is hard, it’s a good idea to add a softener or an anti-scalant dosing system to prevent membrane scaling.
- Install the RO Unit
- Set Up the RO System: Place the commercial RO unit where you want it. You can either mount it on the wall or put it on a stable floor surface.
- Connect the Inlet: Hook up the system’s inlet port to your main water supply. This will let the untreated water flow into the RO system.
- Install Pressure Gauges: Make sure pressure gauges are in place to keep an eye on the incoming water pressure. The system needs at least 40–70 psi to work right.
- Set Up the Storage Tank
- Tank Placement: Put the purified water storage tank somewhere convenient and close to the RO unit.
- Connect the RO Outlet to the Tank: Use tubing to connect the purified water outlet on the RO unit to the storage tank. Make sure everything is sealed and connected properly to avoid any leaks.
- Install a Float Valve (if needed): You can add a float valve in the storage tank to automatically stop water production once the tank is full, preventing overflow.
- Connect Distribution Lines
- Set Up the Distribution Piping: Hook up piping or tubing from the storage tank to wherever you want the water to come out, like faucets or taps.
- Add a Pressure Booster (if necessary): If the storage tank is far from where you’re using the water, or if you need to regulate the pressure, consider installing a booster pump to keep the water pressure up.
- Install the Wastewater Line
Connect a drain line to the RO system’s waste outlet and run it to a suitable drain. Make sure there’s a check valve to stop any backflow, so the system can efficiently get rid of excess water. - System Calibration and Testing
- Calibrate Flow and Pressure Settings: Once you’ve installed the system, make sure to adjust the flow control and that the pressure settings align with the system’s requirements for the best performance.
- Flush the System: Run the RO system for a few hours (check the manufacturer’s guidelines) to flush out contaminants and get the filters working.
- Conduct Testing: Use a TDS meter to test the water quality and ensure it’s removing enough contaminants. Also, look out for leaks, pressure issues, or any other mechanical problems.
Maintenance Tips for Commercial RO Plants
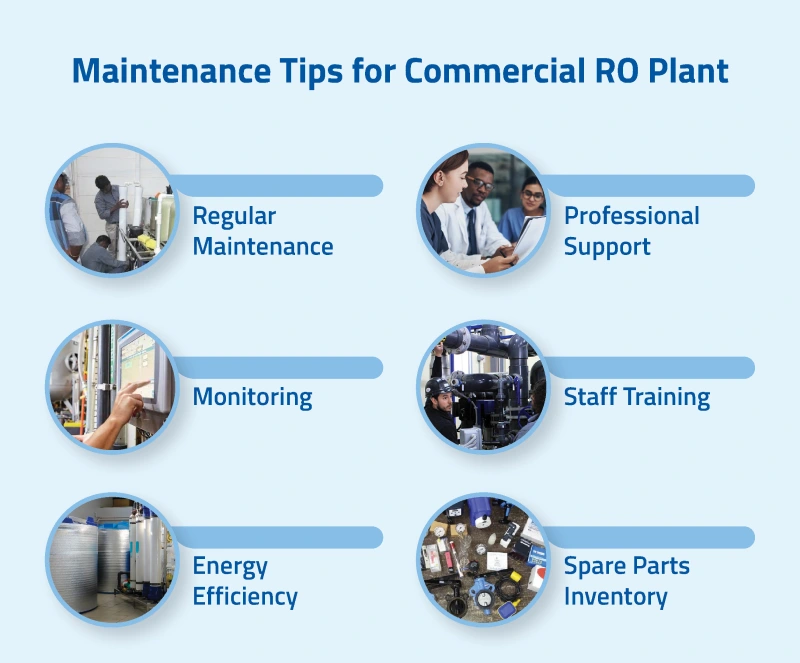
- Regular Maintenance: To keep your system running smoothly, it’s important to schedule regular maintenance. Make sure to change filters and membranes, clean and sanitize parts to avoid microbial growth, and check the tubing for any leaks. If needed, give those RO membranes a deep clean every so often.
- Monitoring: Use advanced monitoring systems to track water quality, system performance, and efficiency. Regularly review the data to spot trends or issues and address them promptly to minimize downtime and meet health standards.
- Professional Support: Work with the RO plant installation company for ongoing support and maintenance. Professional technicians can offer expert advice, conduct system evaluations, and perform necessary repairs to extend the equipment’s lifespan.
- Staff Training: Train the staff responsible for operating the system. Educate them on routine maintenance, emergency protocols, and troubleshooting to minimize disruptions and improve system reliability.
- Energy Efficiency: Assess and optimize the system’s energy usage. Consider investing in energy-efficient components or technologies to reduce costs and boost sustainability, possibly leveraging government incentives for energy-saving upgrades.
- Spare Parts Inventory: Keep an inventory of essential spare parts for quick replacements when needed. This proactive approach helps minimize downtime and ensures continuous operation without long waits for parts delivery.
Industrial RO Plant Installation
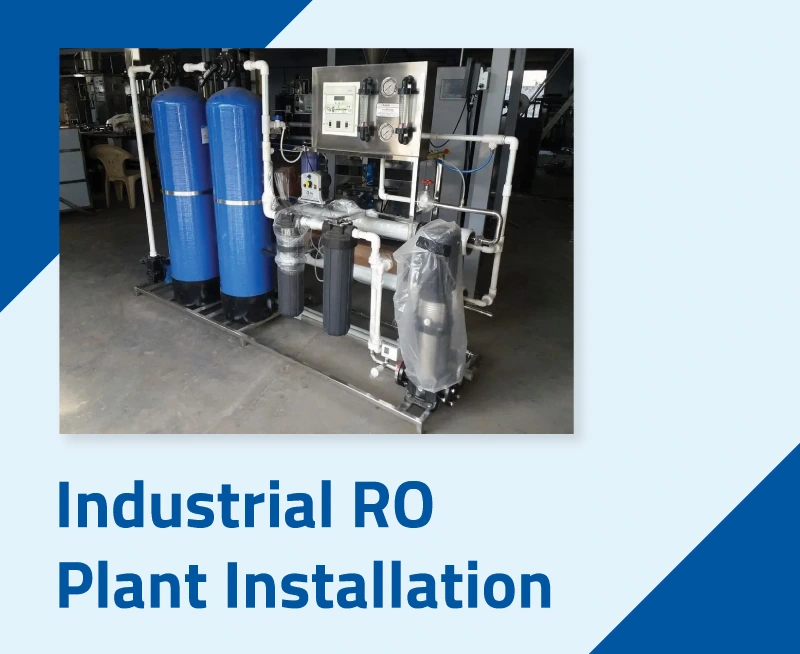
Industrial RO plant installation is critical for industries requiring high volumes of purified water, for instance pharmaceuticals, food & beverage processing, and chemical manufacturing. Proper installation ensures optimal performance & longevity of the system. Here’s a comprehensive guide to installing an industrial RO plant:
Planning & Preparation for Industrial RO Plants
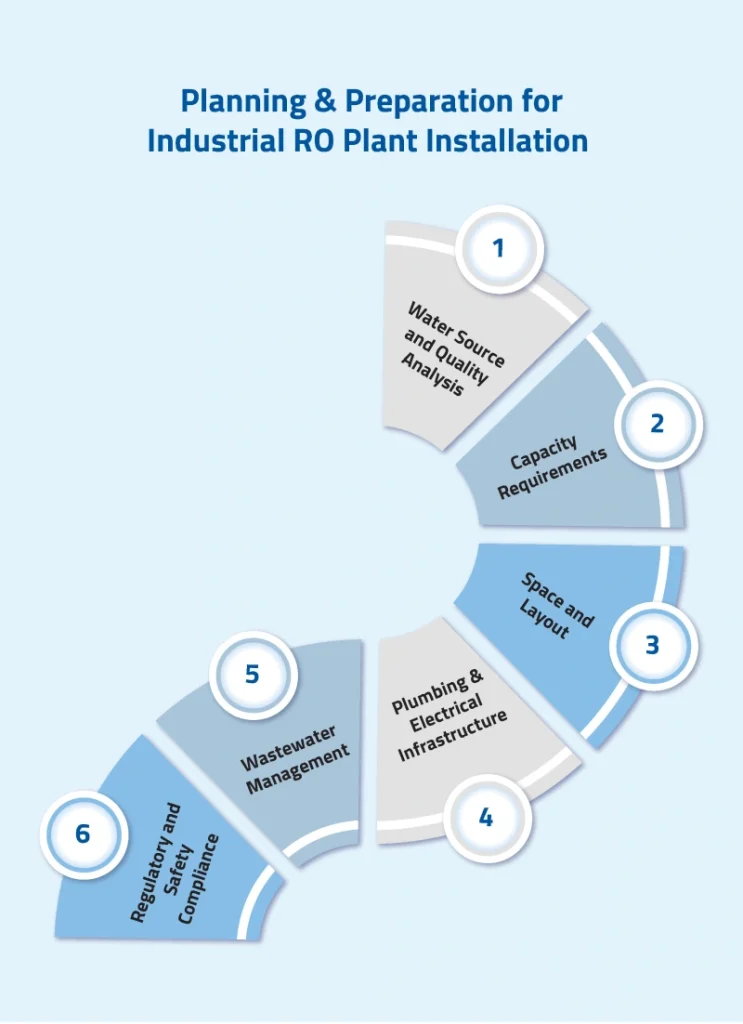
Installing an industrial RO plant requires careful planning and consideration of various factors, including water quality, system capacity, and regulatory requirements. Engage with an experienced RO plant installation company to ensure a successful installation.
- Water Source and Quality Analysis
Start by figuring out where your water comes from, like groundwater, municipal supply, or surface water. Next, do a thorough water test to check for contaminants and impurities such as Total Dissolved Solids (TDS), hardness, chlorine, and iron. This analysis will help you decide on the pre-treatment systems you’ll need to protect the RO membranes and keep everything running smoothly. Common pre-treatment choices include sediment filters for big particles, activated carbon filters to remove chlorine, and water softeners or anti-scalant dosing systems to prevent scaling. - Capacity Requirements
To figure out the right size for your RO system, start by estimating how much water your facility uses each day. Industrial RO systems can handle anywhere from 10,000 to over 100,000 gallons per day, so it really depends on what you need. Design your system to meet these demands efficiently by choosing the right number of RO membranes and other components for reliable operation. - Space and Layout
Pick a good spot for installing the RO system, making sure it’s big enough for the system, pre-treatment gear, storage tanks, and other parts. The area should be well-ventilated and easy to reach for routine maintenance. Also, check that it can handle the equipment’s weight and has easy access to water lines, drainage, and electrical outlets. - Plumbing and Electrical Infrastructure
Make sure the water supply line has the right pressure (typically 40–80 psi) and flow rate to meet the system’s needs. You’ll also want to plan for a drainage system to handle the wastewater (brine) that the RO system produces. Don’t forget to ensure there’s a reliable power source available, especially if the system needs three-phase power for pumps and controls. Finally, check that the electrical setup matches the voltage and power requirements of the RO system. - Wastewater Management
Think about how to handle the wastewater from the RO system. Depending on local rules, you might need to send the brine to a special drainage system or consider recycling options to reduce environmental impact. Just make sure whatever method you choose complies with local environmental regulations and standards. - Regulatory and Safety Compliance
Make sure to check with your local authorities about any permits and regulations you need for setting up a water treatment system and handling wastewater. Also, ensure the installation area meets safety standards—like having the right signs, emergency shutoff systems, and protective barriers—to keep everyone safe during and after the installation.
Step-by-Step Installation Process for Industrial RO System:
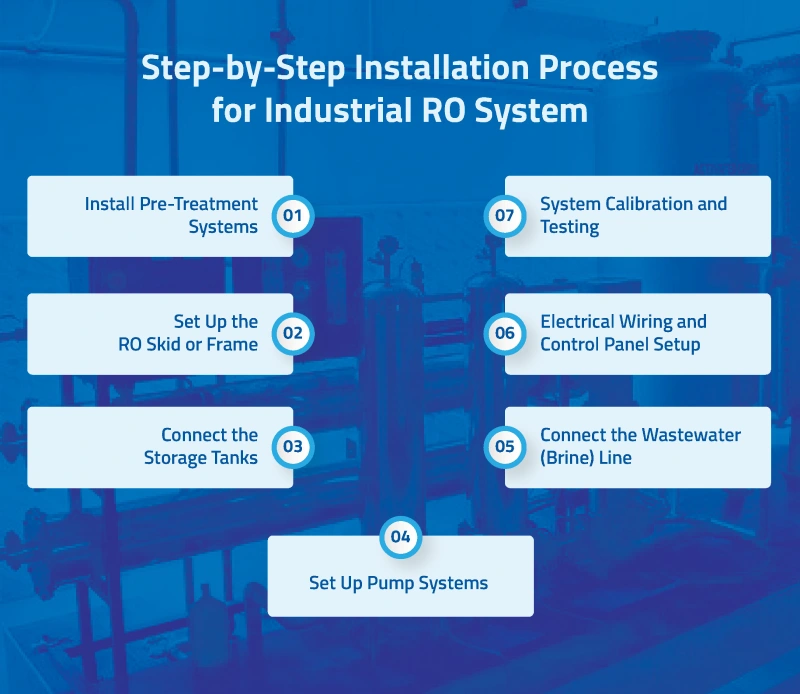
- Install Pre-Treatment Systems
- Set Up the Pre-Treatment Equipment: Put in place the necessary pre-treatment gear like sediment filters, activated carbon filters, water softeners, or anti-scalant dosing units. This step is crucial for making RO membranes last longer by clearing out particulates, chlorine, or hardness from the feed water.
- Connect the Plumbing: Connect the feed water source to the pre-treatment units. Make sure all fittings are secure and sealed properly to avoid leaks.
- Set Up the RO Skid or Frame
- Mount the RO System: The industrial RO setup usually comes already assembled on a skid or frame. Just place it in the spot you’ve chosen and make sure it’s secured to the floor or mounting platform.
- Connect Feed Water Inlet: Hook up the feed water line from the pre-treatment system to the RO system’s inlet. Make sure to use the right piping—usually PVC or stainless steel—for those tough jobs.
- Install Pressure Gauges: Don’t forget to install pressure gauges on the feed water, purified water (permeate), and wastewater (brine) lines. Keeping an eye on the pressure is key for making sure the system runs smoothly.
- Connect the Storage Tanks
- Raw Water Tank (Optional): If you need to, set up a raw water storage tank. This is where untreated water hangs out before it goes through the pre-treatment and RO system.
- Permeate Storage Tank: You’ll want a big, industrial-grade storage tank for the purified water. Try to keep this tank close to the RO system to cut down on piping and avoid losing pressure.
- Connect Output Line: Hook up the purified water outlet from the RO system to the permeate storage tank using some good-quality tubing or piping. Make sure everything’s connected properly to prevent any leaks.
- Install Float Valve: You can put a float valve in the permeate tank to stop water production once the tank is full, so you don’t have to worry about overflow.
- Set Up Pump Systems
- Install High-Pressure Pump: You’ll need a high-pressure pump for the RO system to push water through the membranes. Just set it up between the water source and the RO system.
- Connect to Control Panel: Make sure to hook up the pump to the RO system’s control panel. This way, it can operate automatically and adjust the pressure as needed.
- Pressure Regulator Installation: Put in some pressure regulators or flow meters to keep an eye on and control the water flow and pressure. This is really important for keeping the system running efficiently.
- Connect the Wastewater (Brine) Line
- Set Up Waste Lines: Hook up a drain line to the system’s brine outlet. Make sure the brine goes to a proper drainage system or waste treatment facility.
- Add Flow Restrictors: Install flow restrictors to control the amount of brine and improve water recovery rates, finding the right balance between purified water and wastewater.
- Electrical Wiring and Control Panel Setup
- Connect Electrical Components: Hook up the RO system’s electrical parts like the high-pressure pump, motors, and control panel to their own power source. Most industrial systems need three-phase power.
- Program the Control System: Set up the RO system’s control panel for automatic use. Adjust settings like pressure limits, flow rates, and water quality monitoring to keep things running smoothly.
- System Calibration and Testing
- Check for Leaks: Before you start up the system, take a look at all the connections to make sure there are no leaks or loose fittings.
- Initial Flushing: Run the system for a few hours to flush out any debris or contaminants left from manufacturing in the filters and membranes.
- Monitor Pressure and Flow Rates: Keep an eye on the pressure gauges and flow meters when you start up. Make sure the feed water pressure is at the right level as specified by the manufacturer.
- Test Water Quality: Use a TDS (Total Dissolved Solids) meter to check the quality of the water to ensure the system is working properly.
- Adjust System Settings: Adjust the flow restrictors, pressure regulators, and pump speeds as needed to get the best performance from the system.
Maintenance Tips for Industrial RO Plants
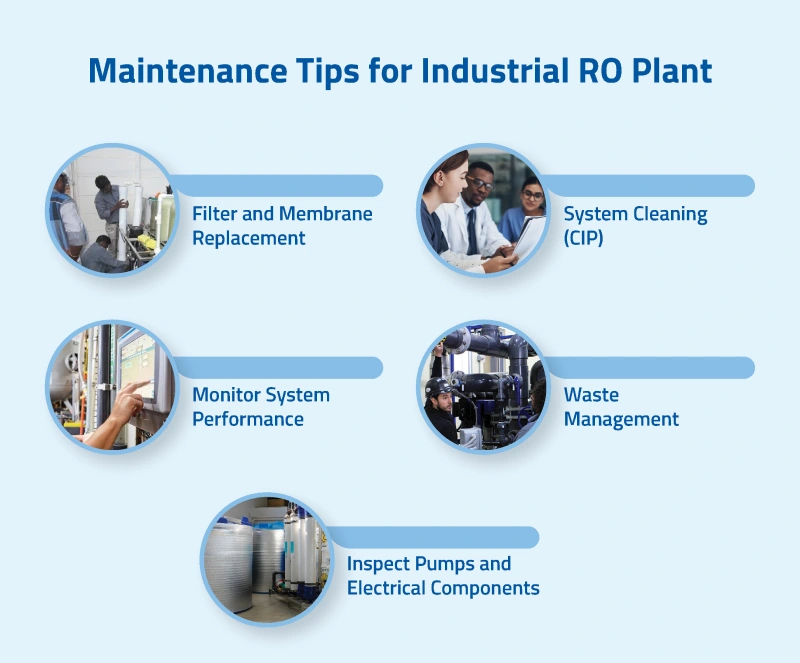
Proper maintenance is crucial for the longevity of an industrial RO system:
- Filter and Membrane Replacement: It’s crucial to keep your system in top shape by replacing pre-treatment filters every 3–6 months. This ensures that the water entering your system is clean and won’t cause unnecessary wear on the membranes. Speaking of which, RO membranes should be changed every 2–3 years, though this can vary based on your water quality and usage. Staying on top of these replacements can save you from bigger headaches down the line!
- System Cleaning (CIP): To keep your reverse osmosis system running efficiently, regular Clean-In-Place (CIP) procedures are a must. These cleanings help remove scaling, fouling, or any biological buildup on the membranes, maintaining their effectiveness. A well-maintained system is a happy system!
- Monitor System Performance: Keep an eye on your system’s performance by continuously monitoring water pressure, flow rates, and total dissolved solids (TDS) levels. This proactive approach ensures optimal operation and allows you to make any necessary adjustments promptly. It’s like giving your system a regular health check-up.
- Inspect Pumps and Electrical Components: Regular inspections of high-pressure pumps, motors, and electrical systems are essential to avoid unexpected breakdowns. Think of it as preventative maintenance that keeps everything running smoothly and efficiently, preventing costly repairs or downtime.
- Waste Management: Don’t forget about the brine disposal or recycling system. Regular checks will ensure it is functioning correctly, which is vital for both environmental responsibility and system efficiency. Proper waste management can contribute significantly to the overall success of your reverse osmosis setup.
Choosing the Right RO Plant Installation Company
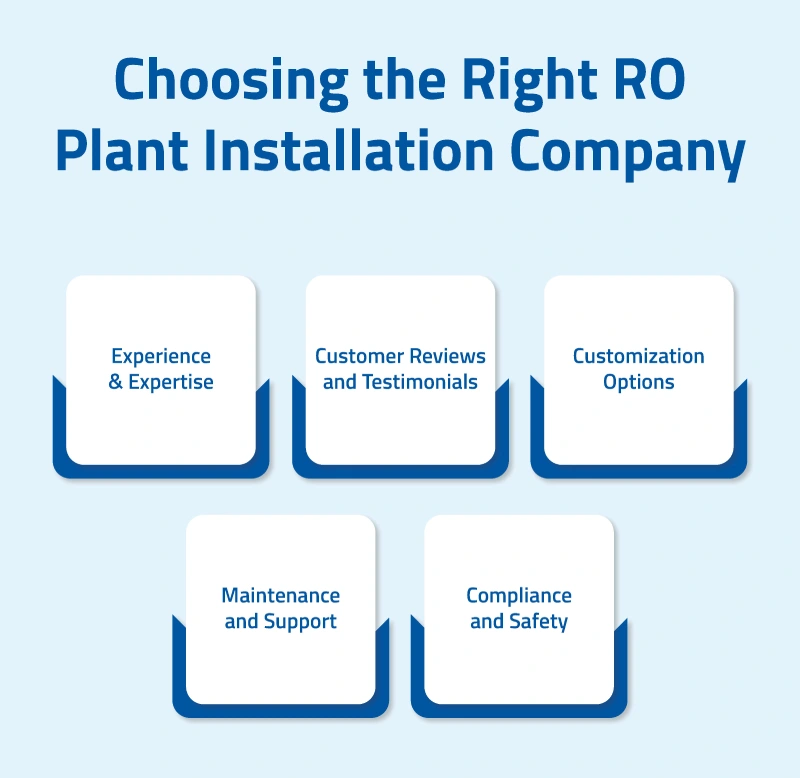
Selecting the right RO plant installation company is essential for ensuring a successful and efficient installation. Consider the following factors when choosing a company:
- Experience and Expertise: Find a company with extensive experience and expertise in installing RO systems for residential, commercial, and industrial applications.
- Customer Reviews and Testimonials: Check customer reviews and testimonials to gauge the company’s reputation and quality of service.
- Customization Options: Ensure the company offers customization options to meet your needs and requirements.
- Maintenance and Support: Select a company that provides ongoing maintenance & support services to ensure the long-term efficiency of your RO system.
- Compliance and Safety: Ensure the company complies with all regulatory requirements and safety standards for RO system installation.
Conclusion
Installing a reverse osmosis plant is a significant investment that can provide clean and safe water for residential, commercial, and industrial purposes. Whether setting up an RO system at home, a commercial water purification system, or an industrial RO plant, understanding the installation process is crucial for ensuring efficiency and reliability.
Following the steps outlined in this guide and choosing the right RO plant installation company can ensure a successful installation and long-term benefits. Embrace the convenience and effectiveness of RO technology and enjoy the benefits of purified water for years to come.
Subscribe to our Blogs
There have some simple steps, by following these steps you can be a regular author in notebook
